
The bow tie is one of the most recognizable accessories in menswear. Its story begins in the 17th century, when Croatian mercenaries in the Thirty Years’ War tied cloth around their collars to hold their shirts together. The French took notice, adopted the look, and called it the cravat — the foundation of modern neckwear.
Over the next two centuries, the cravat evolved into a range of necktie styles, with the bow tie emerging in the late 1800s. What started as a practical military detail eventually became a defining feature of formalwear.
Despite its long legacy, many people shy away from the bow tie because they’re unsure how to tie it. But clear instructions make the process less intimidating. Read on to learn a few different ways to tie a bow tie so you can wear one with confidence, whether you’re headed to a big event or a casual night out.
How To Tie a Bow Tie: 6 Steps To Get It Right
Wearing a self-tie bow tie is a lot easier when you break the process down. Focus on the motion of your hands rather than speed, and the bow will come together cleanly.
- Position and Prepare Your Tie
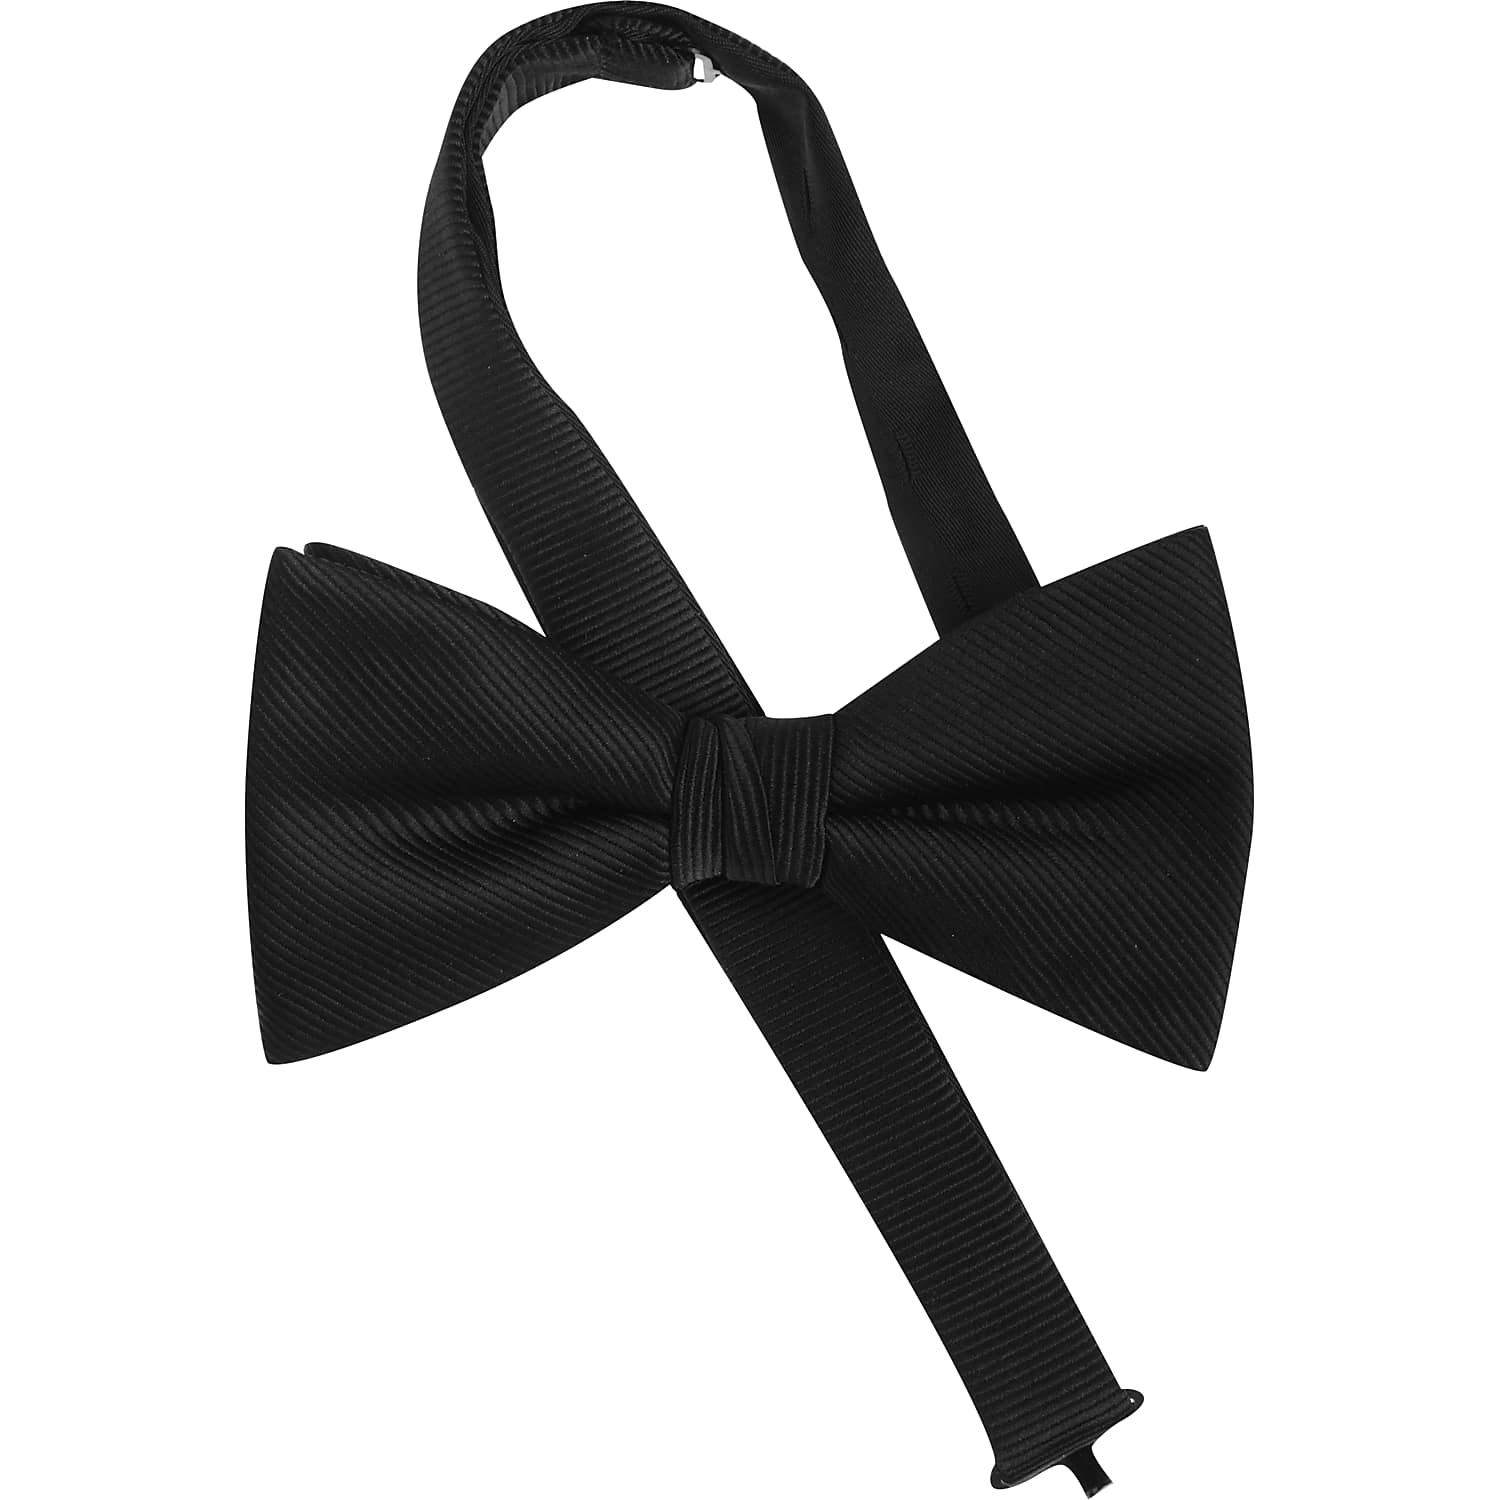
Place the bow tie around your neck, resting it under your shirt collar. Let the right side hang slightly longer than the left. This small imbalance gives you better control as you form the bow tie knot. Keep the neckband flat so the fabric doesn’t twist.
- Cross Over From the Right Side
Take the longer end and bring it across the front of the shorter end, creating an X just below your chin. Hold the center of the X firmly so it doesn’t shift as you work. This keeps the shape aligned as you move through the next step.
- Loop Through From Below
Pass the longer end underneath the crossed section and guide it through the neck loop. Pull it gently until you form a loose knot at the base of your collar, but avoid tightening too much. You want enough space to shape the bow later on.
- Form a Secure Front Bow
Let the longer end of the tie hang down, then drape it over your shoulder so it’s out of the way. Fold the shorter end horizontally at its widest point to form your first bow shape. Position it against the front of your collar using just your thumb and forefinger.
- Push Through the Small Loop
Bring the longer end from your shoulder and place it over the center of the front bow, making sure both sides are even. Fold the longer end horizontally so it mirrors the first bow, and push this folded section through the small loop behind the front bow.
- Tighten and Adjust Your Knot
Hold the loops of the bow and pull outward to tighten the knot. Adjust each side until the bow looks even and sits straight at your collar. You might need to lift or loosen an end so the bow lies cleanly and keeps its shape.
4 Ways To Wear a Bow Tie
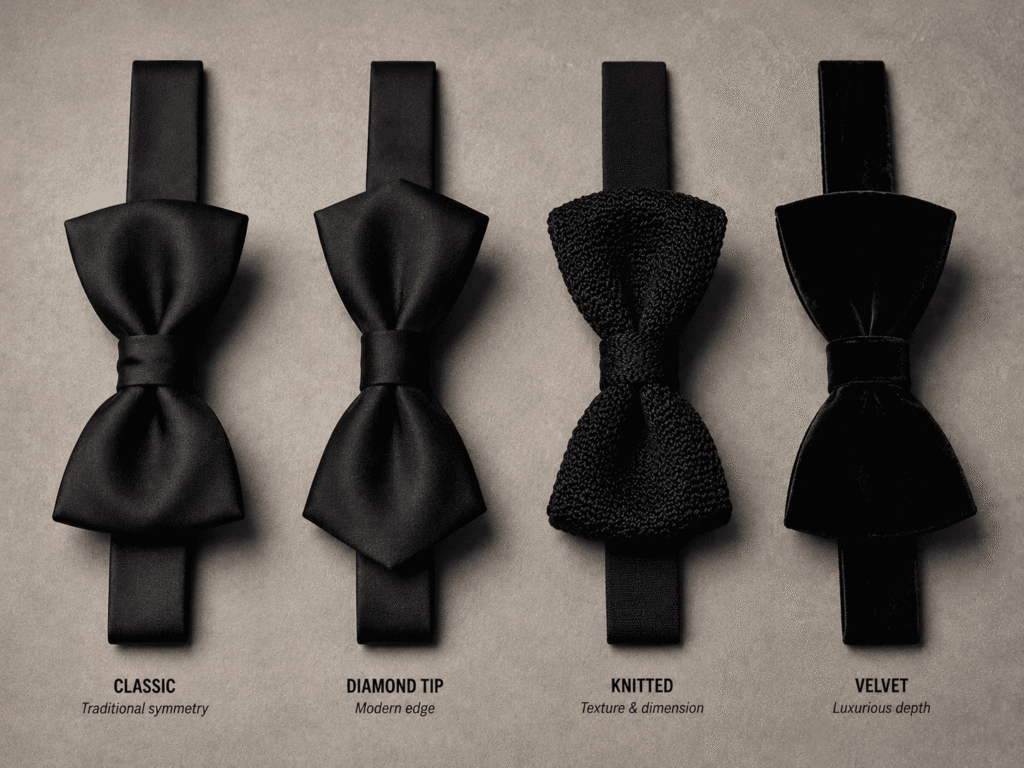
Each bow tie style uses the same core tying method, but different variations in width, folding, and finish bring a completely different vibe.
Butterfly Bow Tie
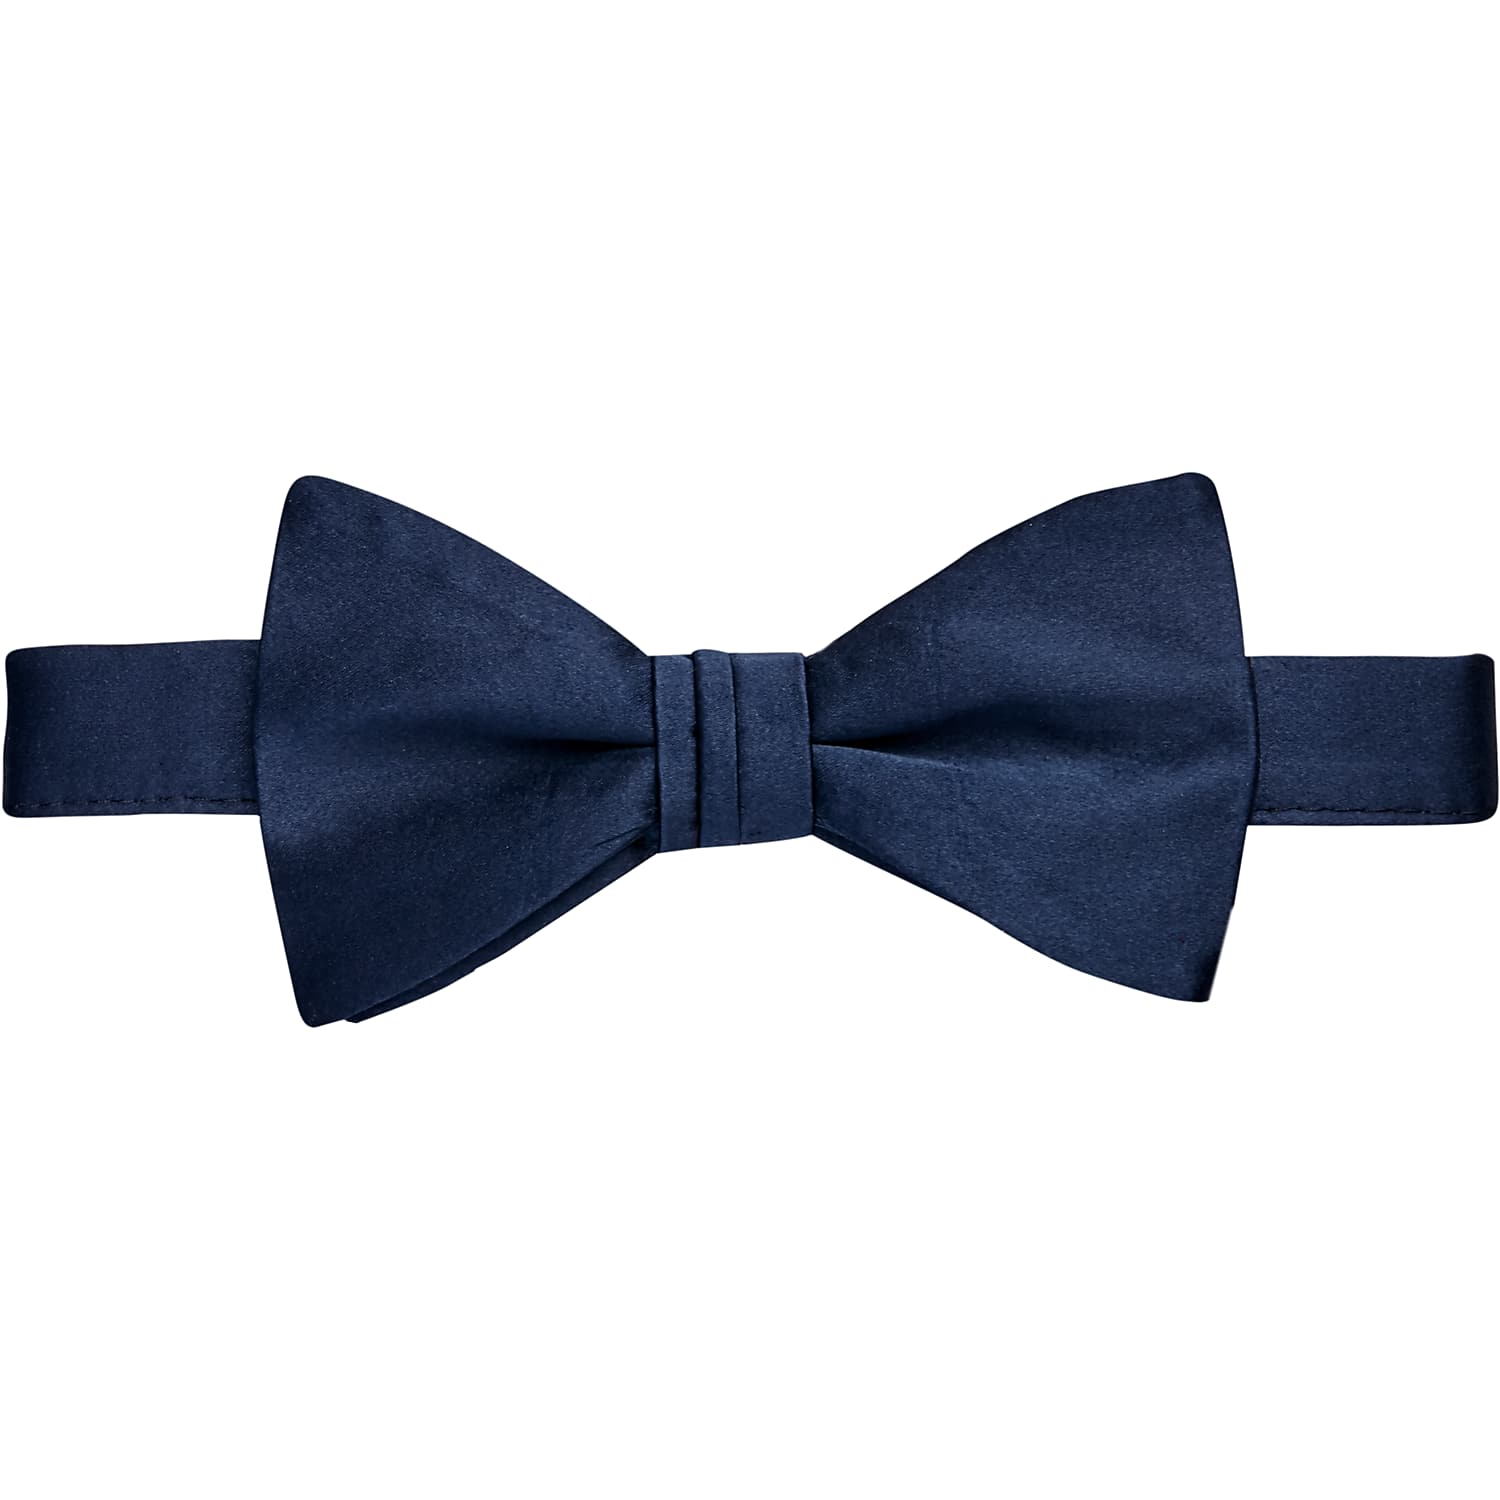
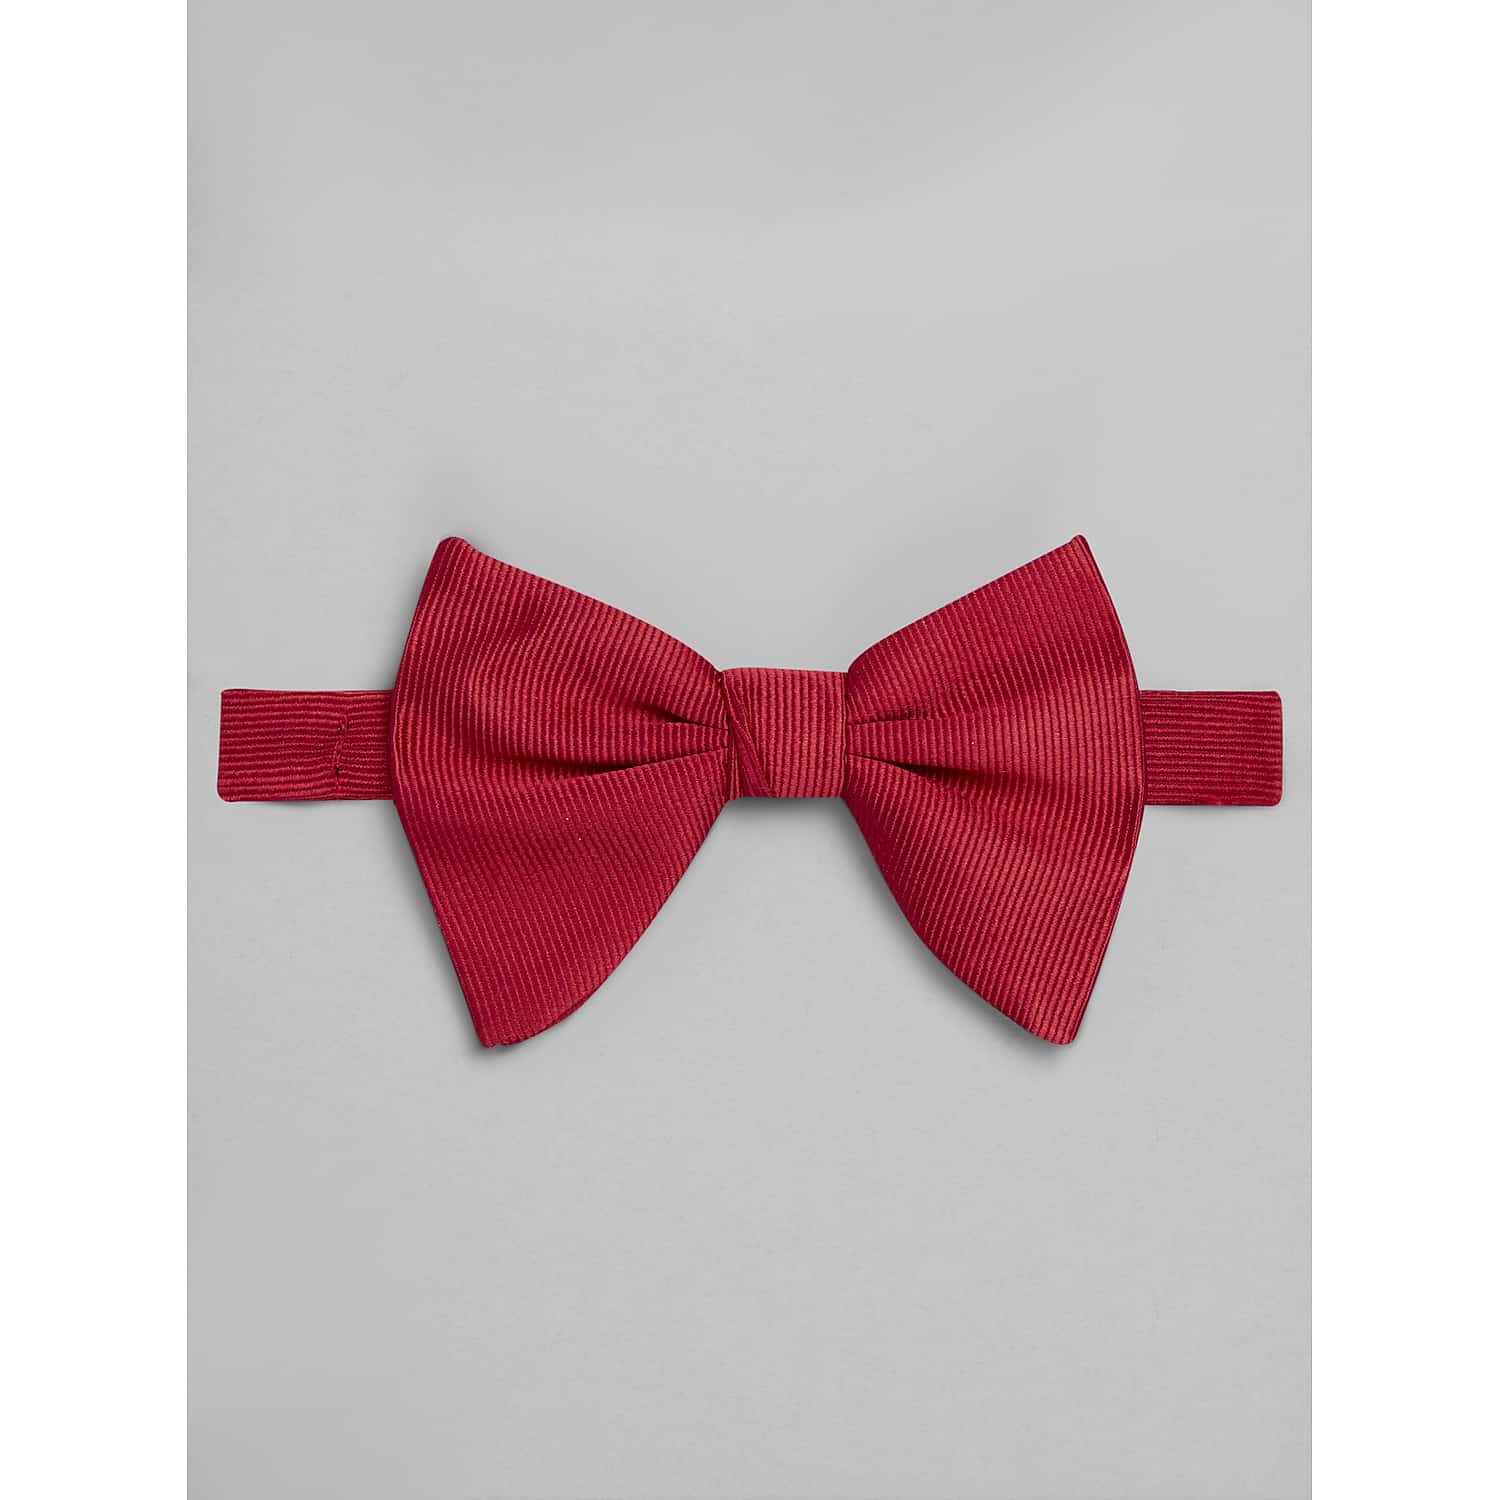
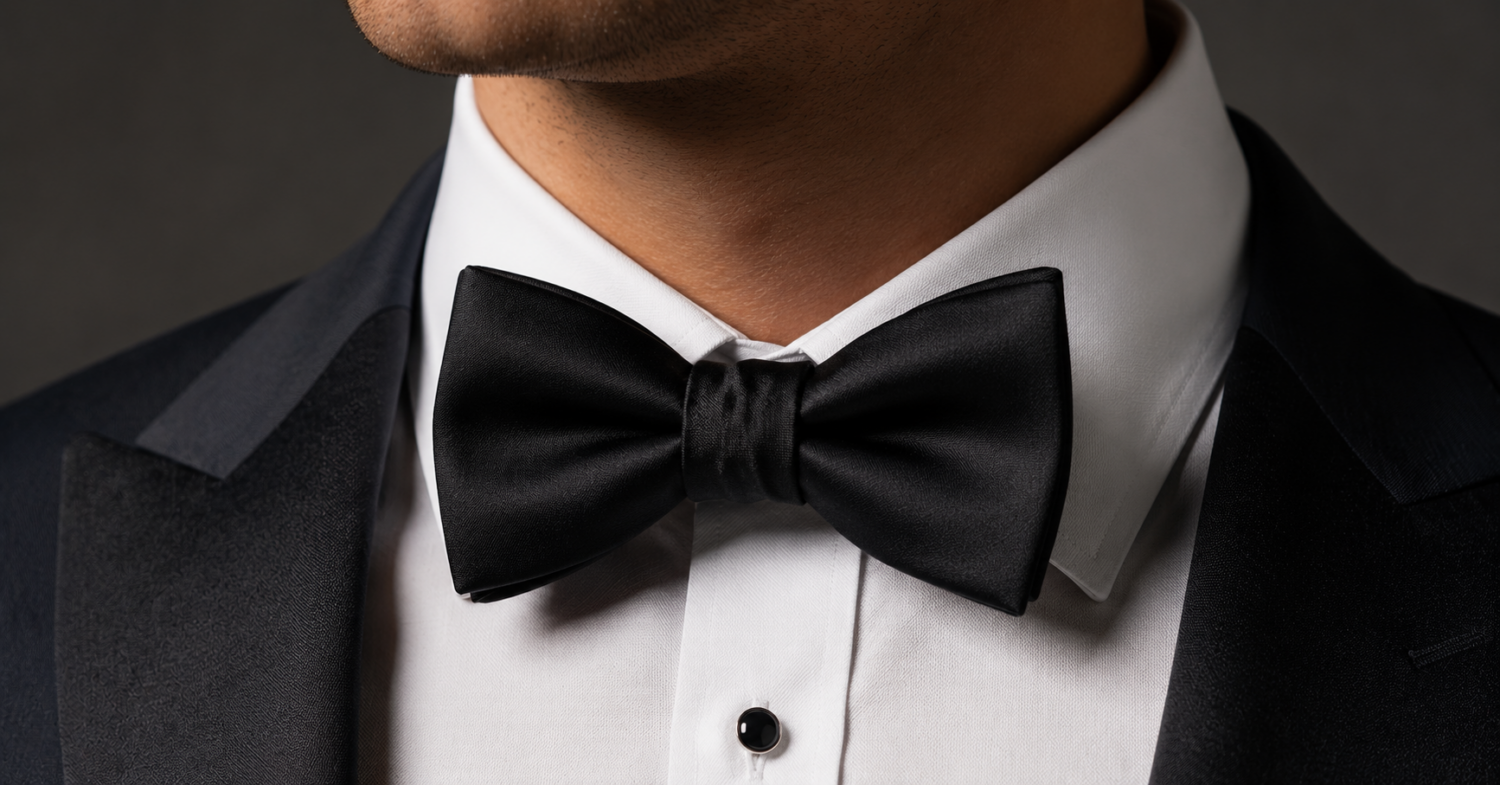
The butterfly bow tie has full, wide ends that give it a rounded shape. It’s the most traditional bow tie style and the go-to choice for black-tie events and formal occasions. You tie it using the standard method outlined above, but the cut of the tie delivers that signature butterfly look. This style works well when you want a timeless look that feels polished and easy to pull off.
Batwing Bow Tie
The batwing bow tie became popular after it was worn by Sean Connery in his 1960s James Bond films. You tie it the same way as a classic bow tie, but because it uses less fabric, it produces a small, tight knot. Its narrow ends — or wings — create a sleek, streamlined appearance that works for formal settings and smart-casual outfits.
Diamond Point Bow Tie
The diamond point bow tie adds personality without going over the top. Both ends taper into a pointed shape, which gives the bow a subtle asymmetrical look. You use the standard tying technique for this style, but the angled tips make it more eye-catching than a traditional butterfly necktie. It’s a great option if you want a refined look with a small twist.
Teardrop Bow Tie
The teardrop bow tie falls somewhere between the butterfly and batwing. Its gently tapered ends create a soft, rounded point that’s less dramatic than a diamond tip but more defined than a classic bow. While you tie the teardrop like any other style, its curved ends and sculpted finish give it a bit more character.
3 Tips To Tie a Bow Tie
Getting a bow tie just right takes practice and steady hands. These tips will help you get a crisp knot and keep the bow balanced each time you wear one.
Get the Shape Right for Your Face
When a bow tie complements your face shape, it can enhance your overall look and make you appear more polished. Wider butterfly styles balance broader features, while batwing bow ties are better suited for slimmer proportions. Diamond point ties add structure to softer or rounder faces by introducing a sharper outline.
Adjust the Length Before You Tie the Knot
Set the lengths of the tie first. Make one side slightly longer so you have room to adjust as you work through the knot. If the sides start perfectly even, it’s harder to tweak the final shape. This small adjustment keeps things symmetrical and looking sharp.
Practice Making the Bow in Front of a Mirror
Use a mirror to watch your progress. Seeing the knot take shape helps you catch mistakes early and fix them. It also helps build muscle memory so the process gets easier and faster the more you do it. A few practice runs can make a big difference when you’re getting ready for an important event.
Find Your Bow Tie at Men’s Wearhouse
When you want to put your skills to the test, check out Men’s Wearhouse for a wide selection of self-tie bow ties in classic and modern styles. Browse shapes, fabrics, and colors online, or visit a store to see each option in person.
In-store, you’ll find expert styling advice from knowledgeable associates who can help you find what you need. And with Men’s Wearhouse professional tailoring services, you can ensure a perfectly fitted outfit from head to toe.
Shop Related Products